Okay,
so I assume you did the first 2 steps (install both sublimelinter and its css plugin).
Now, sublimelinter and quite all its plugins needs the “real” linters to be installed as they are just an interface to run the actual linting process. It seems to me that this is the part where you failed, so let’s try to review it.
First of all you need 2 thing on your machine: Node.js (runtime) and NPM (package manager), so you need to install them following the links provided.
Next step is to install the real Css Linter by typing in you terminal “npm install -g csslint”, after that typing in you terminal “csslint” should return the help screen, and typing “which csslint” should return the path of the executable.
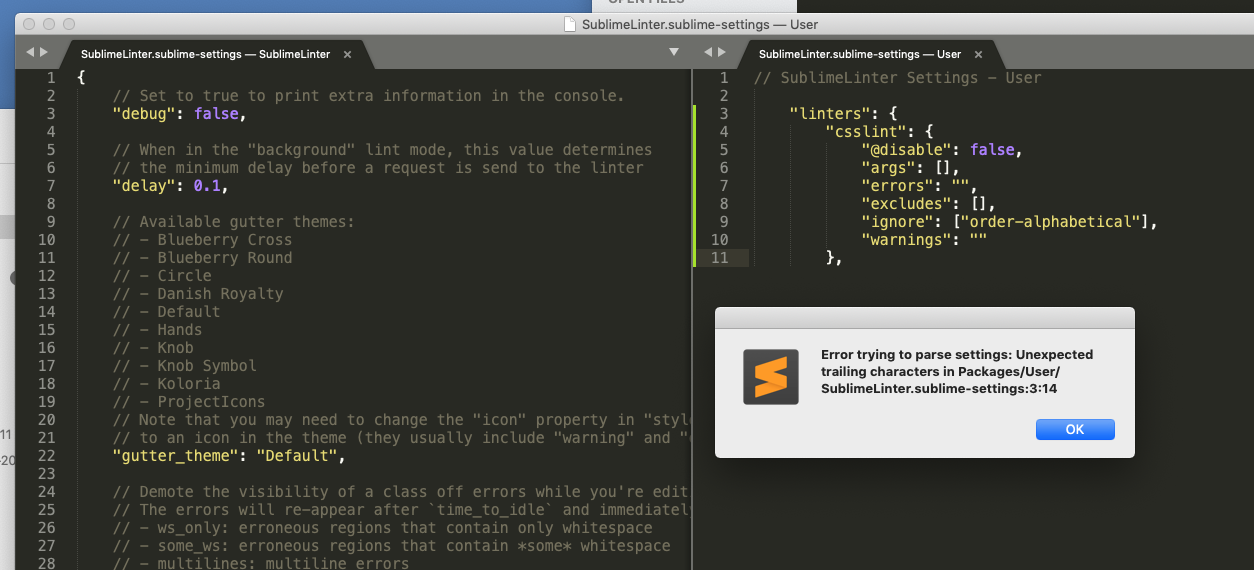
After that you should be done, but you may need to configure the linter (eg. change type of errors/warning s accordingly to your taste), to do that open SublimeLinter’s settings (preferences > packages settings > sublimelinter > settings).
For example this is what I have in sublimelinter settings under “linters”:
"csslint": {
    "disable": false,
    "args": [],
    "errors": "ids,display-property-grouping,duplicate-properties,empty-rules,errors,known-properties,vendor-prefix",
    "excludes": [],
    "ignore": "",
    "warnings": "adjoining-classes,box-model,box-sizing,compatible-vendor,duplicate-background,fallback-colors,floats,font-faces,font-sizes,gradients,import,important,outline-none,overqualified-elements,qualified-headings,regex-selectors,rules-count,shorthand,star-property,text-indent,underscore-property,unique-headings,universal-selector,zero-units"
},
Finally the “Path” part, honestly I never had to fine tune that, 'coz under windows paths are usually working without problems, but if you need to edit that, then, in the sublimelinter setting under “paths” > “osx” you should add the output of the previously ran terminal command “which csslint”.
hope it helps